4.4 KiB
Prepare your environment
Download the latest version of python and Microsoft c++ redistributable
Get the code
-
First thing you will need is an editor for your source code, that's a personal choice, but we would like to recommend PyCharm community edition, an excellent open-source python editor. PyCharm Community edition
-
Run the installer, and follow the installation instructions for PyCharm, you may change a few options, but the default ones should be fine.
-
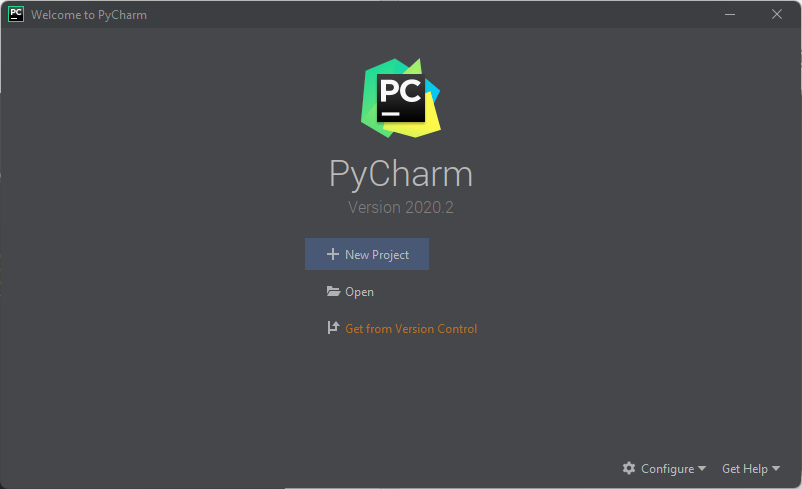
Open PyCharm and click on "Get from Version Control".
You can find it also at VCS -> Get from Version Control...
- Select Git as the version control, and set the URL to Hub repository as shown in the picture. At the website, copy the URL from Clone -> Clone with HTTPS.
You may need to install Git, by clicking at Download and install. If that message does not appear is because you have it already installed in your computer.
- Click Clone to download CERC hub source code. You will end with a project like this:
- To create your working branch you need rights to edit that project. Please, talk to Guillermo (guillermo.gutierrezmorote@concordia.ca) or Koa (kekoa.wells@concordia.ca) to get those rights. Once you have them, right-click on the project folder (hub) -> Git -> Repository -> Branches:
And then + New Branch:
Give a name to your branch and open the tab Git at the down-left corner. Right-click on your branch and push.
Check that your branch appears in the Remote list:
If your branch is there, you are done with this part.
Configure PyCharm
We use two spaces as a tab instead of standard pep8 four spaces indentation. This option can be configured in PyCharm at the settings screen, as shown in the picture.
Start your project
- At our Git (https://rs-loy-gitlab.concordia.ca/), click on New project:
The create a black project with the desired name (remember to follow our 
And finally, clone it following the same steps as for 
- Go to project settings and add the hub project to your own, by clicking on Add Content Root:
- Add your first file to your project and click on install requirements to automatically download all the dependencies (in blue at top-right corner).
- When all the dependencies are satisfied, you are all set to start importing your first city model.
Add the following code to your main.py
from imports.geometry_factory import GeometryFactory

city = GeometryFactory('citygml', 'myfile.gml').city
- Always remember to push your own project changes as the last thing you do before ending your working day! First, commit your changes by clicking on the green check at the top-right corner of Pycharm. Add a comment that explains briefly your changes. Then, pull by clicking on the blue arrow to be sure that there are no conflicts between your version (local) and the remote one (gitlab). Once the conflicts are solved and the merge in local is done, push the changes by clicking on the green arrow.


